The 365 Day Season: Preserve your food with a vacuum sealer Vacuum Freezer
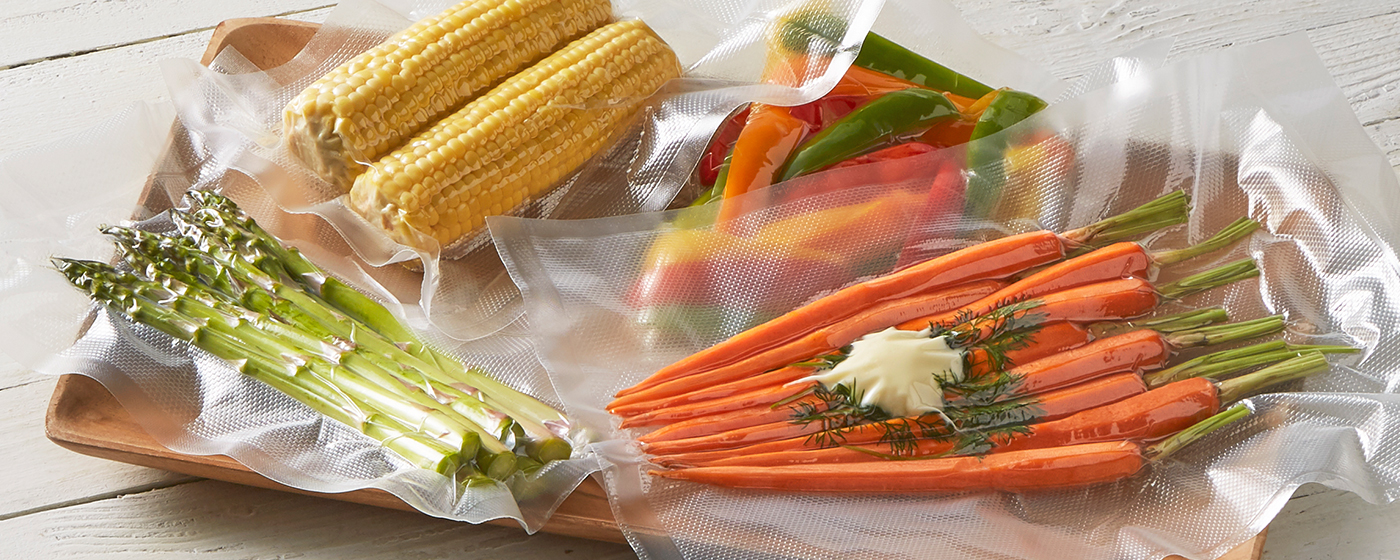
Spring was a bumper crop for snap peas. The summer squash are freakishly productive. And now, you’re faced with what to do with all your glorious bounty. Odds are it won’t all be consumed immediately, so those yields need to somehow be kept fresh. It’s estimated that the average American wastes 219 pounds of food annually. For the average household, that equates to a cost of $1,600.
Vacuum sealing is a practical method for preserving food and extending its shelf life. And for the homesteader or the active home chef, a vacuum sealer offers a cornucopia of utility. Items that have been prepped for sealing are first placed in a specialized heat seal plastic bag. The bag is inserted into an electronic vacuum sealer which quickly takes the air out of the bag and heat seals it. The result is an airtight, permanent seal that locks in freshness and prevents freezer burn. Sealed items can be stored in the freezer, refrigerator or pantry.
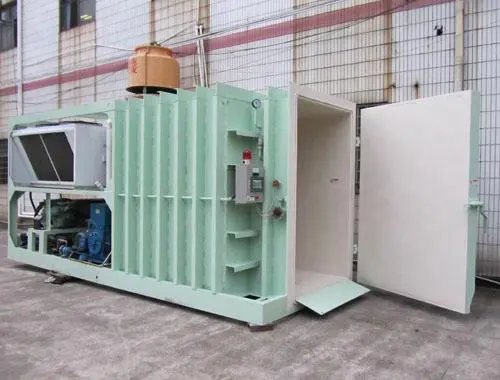
Vacuum Cooler for Vegetables
The benefits of vacuum sealing
.jpg) You can use a vacuum sealer to keep fruits and vegetables, meats, fish, liquid foods and dry goods fresher longer. Essentially, it’s a way to extend your eating season. Warm-weather crops will only last until the first frost, but if sealed and frozen, foods such as peppers, zucchini and strawberries can remain on your menu for months. Ripe red tomatoes can be processed into homemade marinara sauce and preserved for future pasta dishes.
You can use a vacuum sealer to keep fruits and vegetables, meats, fish, liquid foods and dry goods fresher longer. Essentially, it’s a way to extend your eating season. Warm-weather crops will only last until the first frost, but if sealed and frozen, foods such as peppers, zucchini and strawberries can remain on your menu for months. Ripe red tomatoes can be processed into homemade marinara sauce and preserved for future pasta dishes.
Vacuum sealing will help you save time and money and contributes greatly to kitchen efficiency. You can buy food in bulk and boost its longevity beyond when it would normally spoil or get stale. Want to stock up at your warehouse grocery store? Local fishmonger having a clearance sale? You can purchase with confidence. Vacuum-sealed bags shield items from freezer burn, and their compressed size will take up less space in your storage areas. They’re also handy for preserving leftovers—just seal them up and toss in the fridge.
For the home chef, a vacuum sealer makes it possible to have meals at the ready. Lasagna, chili and other family-style dishes can be cooked in advance and sealed in bags. So when you need to quickly get food on the table, it’s simply a matter of grabbing a portion from the freezer and reheating (the bag) in simmering water or the microwave. The appliance’s culinary applications don’t end there though. It’s super useful for cooking sous vide style and infusing foods with marinades and pickling brines.
Finally, you can vacuum seal nonfood items such as keys, important documents and emergency supplies. It’s a smart way to keep valuables safe in the event of flooding in your home. And for the outdoor enthusiast, it can protect items from rain or an unintended soak in the river or lake.
Tips for successful sealing
- Only use specialized heat-seal bags—regular household plastic bags will not perform as needed and may damage the vacuum sealer.
- Never reuse bags that have stored meats or seafood, as they may harbor residual pathogens.
- Use vacuum bag rolls to make custom-sized bags.
- Ensure a clean seal by folding over 1.5 inches (3.8 cm) of the bag’s top edge before filling it. This will protect the sealing area from contact with food.
- Leave at least 2 inches (5 cm) of space between the open end of the bag and its contents.
- Avoid sharp items around heat-seal bags or rolls when vacuum sealing. Punctured bags will not seal properly.
- Properly position the bag—center the entire open edge within the vacuum chamber. Bag should be as flat as possible with no folds or wrinkles.
- Don’t allow liquids, powders (e.g., flour), etc. to be sucked into the vacuum sealer—this may damage it.
- Always allow the appliance a 20-second cooldown between operations—this will prevent the next bag that’s inserted from melting.
Sealing fruits and vegetables
- Wash and dry all fruits and vegetables before vacuum sealing. Leafy veggies can be quickly dried in a salad spinner.
- Vegetables such as broccoli, Brussels sprouts, carrots, cabbage, cauliflower, green beans, kale, onions, peas, peppers, snap peas and squash need to be blanched (see below) and frozen before vacuum sealing.
- To avoid crushing berries when vacuum sealing, freeze them first. Wash, dry and freeze them on cookie sheets, then bag and seal.
- Understand and follow all food safety guidelines.
How to blanch vegetables for freezing
Blanching is the technique of cooking vegetables in boiling water or steam to halt the enzymatic process that causes them to lose flavor, color and texture when frozen. It also helps remove dirt, insects and organisms. Blanching times vary between 30 seconds and 10 minutes—depending on the size and type of veggie and whether water or steam is used. However, it’s important to be precise. Underblanching will stimulate the enzymes, which may be worse than not blanching at all. Overblanching will diminish flavor, color and nutrients.
- Blanch trimmed, rinsed and cut vegetables for exactly the time required and then drain.
- Immediately plunge them into a bowl filled with ice and cold water to stop the cooking process. Allow vegetables to chill for the same amount of time as they were blanched.
- Drain them thoroughly. Arrange in a single layer on a cookie sheet lined with a silicone baking mat or parchment paper and place in freezer.
Sealing dry goods
Maybe you need to put up your shell bean harvest for the winter months or prevent flour from going rancid. A vacuum sealer is capable of extending the shelf life of all kinds of dry goods, including cereals and grains, milled products, coffee, spices, nuts and beans. Sealed foods not only will stay fresher longer but they also take up less storage space. So if you’re a household that likes to buy provisions in bulk, owning a sealer makes a lot of sense.
Sealing liquids and moist foods
Traditional vacuum sealers work by sucking air from the bag containing the contents. Liquids such as soups and sauces and moist foods with juices can be sealed with a traditional machine if steps are taken to prevent fluids from getting into it.
- Keep the vacuum sealer higher than the bag.
- Use paper towels as a buffer—position a strip of folded towel inside the bag just below the mouth and spanning its width, then vacuum and seal as normal.
- Prefreeze meats, delicate fruits and baked foods before vacuum sealing—prefreeze casseroles, sauces and soups in plastic containers.
If you frequently need to preserve liquids (or powdery or fragile foods), consider upgrading to a chamber vacuum sealer. When using this type of sealer, the bag (or other container) is placed inside a chamber. Air is removed from the chamber and a seal is created as air equalizes inside and outside the bag. This eliminates the risk of any accidental material transfer.
Vacuum-sealed cooking: sous vide and infusion
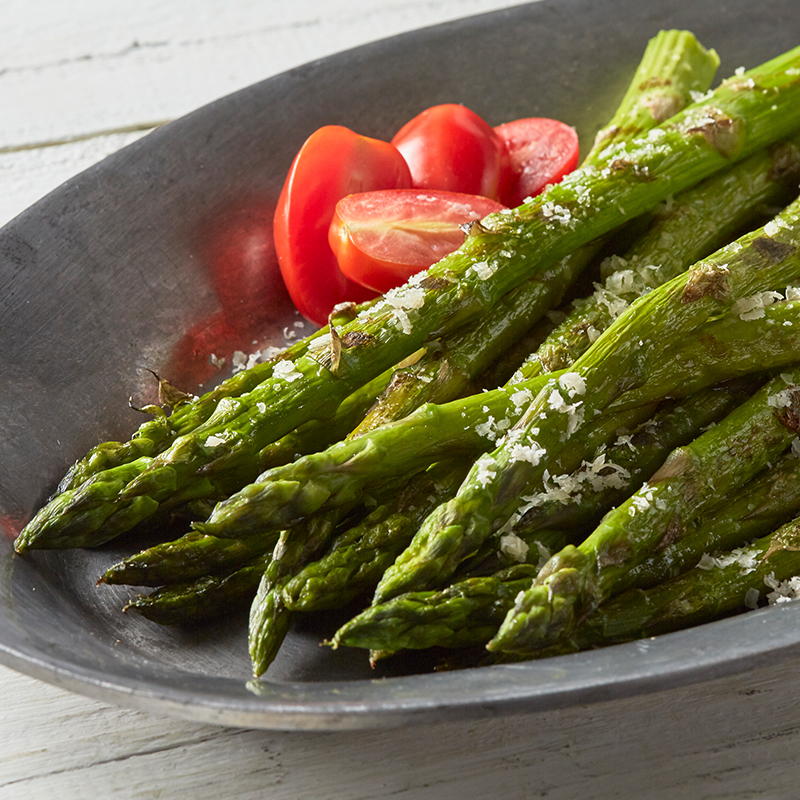
Sous vide is a method of cooking where vacuum-sealed food is submerged in a precisely temperature-controlled water bath. The consistent temperature ensures that food is evenly cooked throughout and reduces the chance of over or undercooking. Plus, the heavy-duty construction of specialized heat-seal bags locks in flavors, juices and nutrients. Vegetables, meats and fish can all be perfectly prepared, and the options for fantastic entrées and side dishes are endless—for starters, try sous vide asparagus or carrots, or a sous vide chimichurri steak. And to learn more, you can read our introduction to sous vide cooking.
In the culinary realm, pickling and marinating are two techniques commonly used to preserve and enhance foods. For the chef with a vacuum sealer (specifically a chamber sealer), both can be easily performed. It all happens via a pressure infusion process. Marinades and pickling brines are combined with food in a heat-sealed bag, which is then placed in the chamber. Pressure opens the fibers and cells of the meat, vegetable or fruit, allowing liquid to penetrate. It’s a huge timesaver and great for last-minute food prep. Tasks like pickling onions or marinating chicken can be accomplished in minutes rather than hours.
Sealing nonfood items
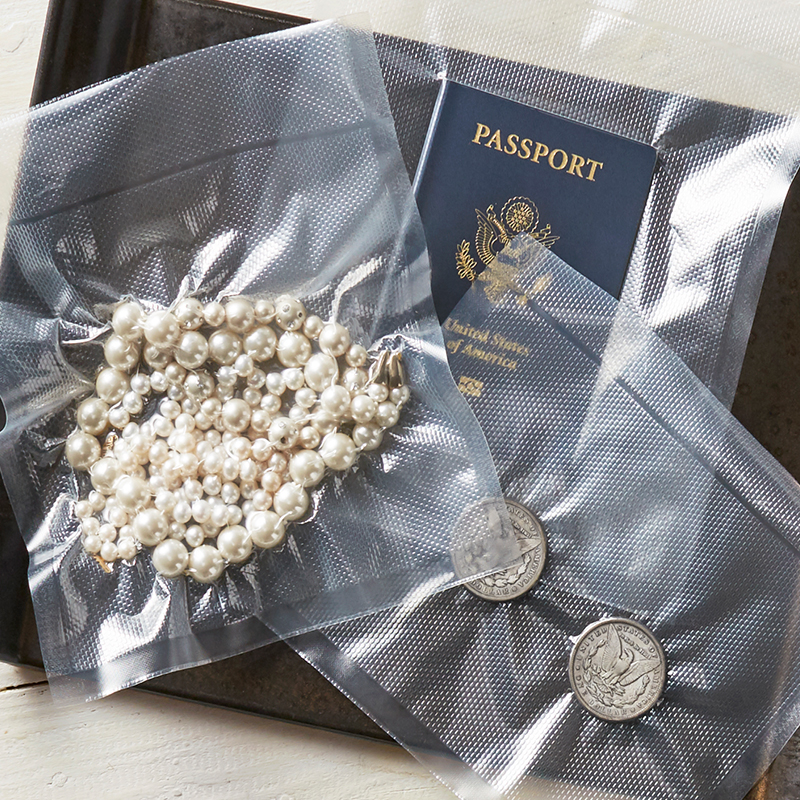
When you’re not using a vacuum sealer to preserve edibles, you can use it to protect nonfood items used in the home and in outdoor environments.
- Seal out air and moisture to protect emergency supplies, electronics, collectibles, valuable documents and photographs, and keep silver free of tarnish and scratches.
- Keep batteries, matches, licenses and passports safe from water exposure when boating, camping or traveling.
- Compress clothing and blankets to conserve space in a backpack or boat cargo hold—plus keep them dry and free of mildew.
- Wrap keys, utensils and other sharp-pointed objects in paper towels or other durable cushioning before vacuum sealing.
- For outdoor excursions, be sure to bring scissors or have a knife handy to open your sealed items.
If you believe in making things last as long as possible, a vacuum sealer is a smart investment. It gives you more control of over your food processing and flexibility in how and when you enjoy food. It protects and preserves your important possessions. And it makes modern living more convenient and a bit less wasteful.
-
Transform Operations with Vacuum Freezer MachineNewsMay.14,2025
-
Enhance Business with Cold Room TechnologyNewsMay.14,2025
-
Vacuum Freezer Machine for Modern NeedsNewsMay.09,2025
-
Discover Our Comprehensive Cold Room SolutionsNewsMay.09,2025
-
Cold Room Solutions for Your BusinessNewsMay.08,2025
-
Advanced Vacuum Freezer MachineNewsMay.08,2025


